Those are great times to live for developers. There are so many different tools we can use to make sure that the code we created is working perfectly. Those libraries can help us check every aspect of our code – from static analysis to unit testing, and finishing with end-to-end testing.

LearnDash is taking cutting-edge e-learning methodology and infusing it into WordPress. Trusted to power the learning programs for major universities, small to mid-size companies, startups, entrepreneurs, and bloggers worldwide.
What should we test?
The simple answer is everything. But let’s be honest, not everyone has the time and resources to do so. I always suggest concentrating on two aspects:
- the parts that are crucial for us
- the parts that in which we make the biggest number of mistakes
After picking which parts are the most crucial for us, we should concentrate on picking the right tools for us. As I mentioned – there are a lot of tools to choose from and this article is not about it. I can recommend checking out those articles:
- Adopting PHP code quality tooling to make life as a WordPress developer much more enjoyable!
- Get Started with PHP Static Code Analysis
- SIMPLE START WITH ACCEPTANCE TESTING FOR WORDPRESS
The problem is, that with so many tools we have in our toolbox, we might forget to run them all. The good news is – there are a few ways, that will help us to remember about running them all.
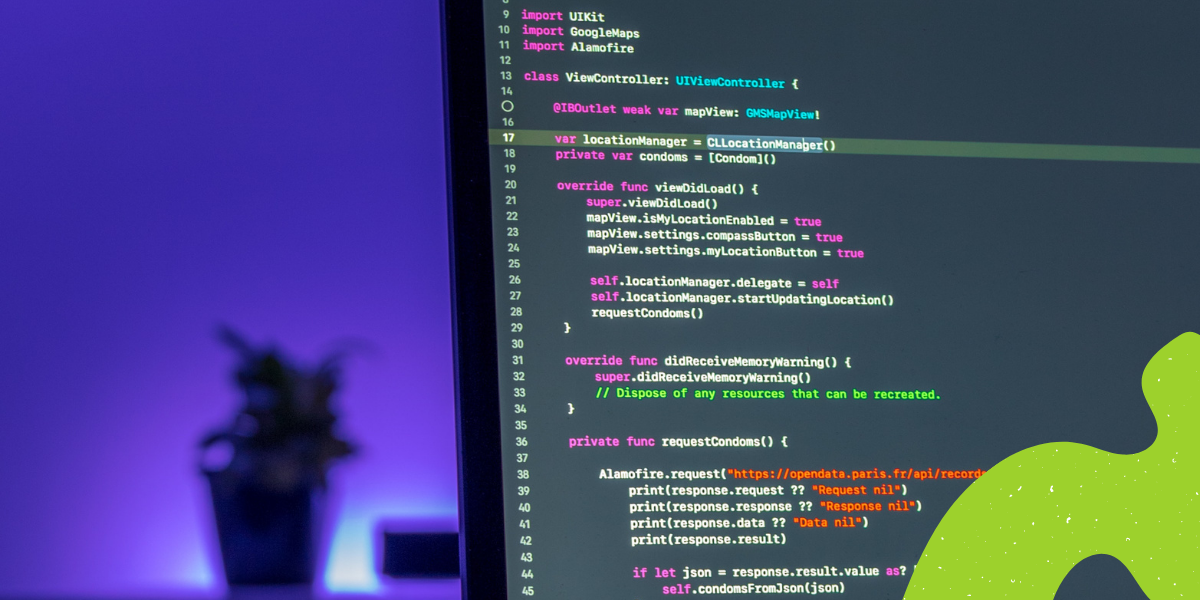
Code Editor
Our code editor is the first place that can remind us about fixing some bugs. The cool part is that it will show us all our mistakes as we type our code. For example, we can install some extensions to our Visual Code Studio, like PHPCS or ESLint. Both of them will find problems in our code and underline the code and list them in a special tab:

Whilst this is great, it comes with some drawbacks:
- we don’t have to follow those rules – I saw many developers who got used to the underlined code.
- it sometimes requires some additional configuration
Still – I would always recommend using as many code quality tools in our editor as possible. This is still the best first line of defense against forgetting to run our tests.
Git Hooks and some libraries
Git has this really cool thing called hooks. Thanks to them we can for example run unit tests before each commit (and if the test will fail, the code won’t be committed).
Hooks have just one problem – they aren’t the simplest thing in the world to implement. The good news is that there are some libraries that make this process much easier. Let’s take a look at Husky and Lefthook.
In both cases our task is simple – let’s run PHPCS on PHP files and if they are correct. To make everything easier, I already added a script to composer called phpcs which runs phpcs with some additional parameters.
Husky
The installation process is fairly simple – just follow the instruction here. But let’s install it and add our hook:
npm set-script prepare "husky install"
npm run prepare
npx husky add .husky/pre-commit "composer run phpcs"
git add .husky/pre-commit
Now, if we try to commit our code, it will either be committed if everything was OK, or we’ll get something like:
Script vendor/bin/phpcs -s --standard=psr2  ./ handling the phpcs event returned with error code 2
husky - pre-commit hook exited with code 2 (error)
As you see – it was pretty straightforward. I also recommend reading this article from Max about Husky.
Lefthook
Lefthook installation is also straightforward – just follow this article. Overall, first, we have to run npm install @arkweid/lefthook --save-dev , then create a lefthook.yml file and in the end run npx @arkweid/lefthook install .
In our case the config file will look like this:
pre-commit:
  parallel: true
  commands:
    phpcs:
      run: composer run phpcs
Lefthook will run exactly as Husky – so we something is wrong the code won’t be committed.
To sum up – using git hooks is another line of defense against our poor memory. Using them is also much more strict – any problem with our code will block the commit.
LearnDash is taking cutting-edge e-learning methodology and infusing it into WordPress. Trusted to power the learning programs for major universities, small to mid-size companies, startups, entrepreneurs, and bloggers worldwide.
CI/CD pipeline
The last line of defense differs from those I described earlier because it doesn’t run on our machine. It also requires some additional configuration of git to prevent merging code that doesn’t pass all the tests (check out this tutorial on GitHub to see what I mean).
Having git configured it’s time to configure our CI/CD application. There are quite a few to choose from, but I will show how to do it on Buddy because it’s the simplest solution to start with, but GitHub Actions are also a great tool.
After connecting our repository with Buddy we should create a new pipeline:
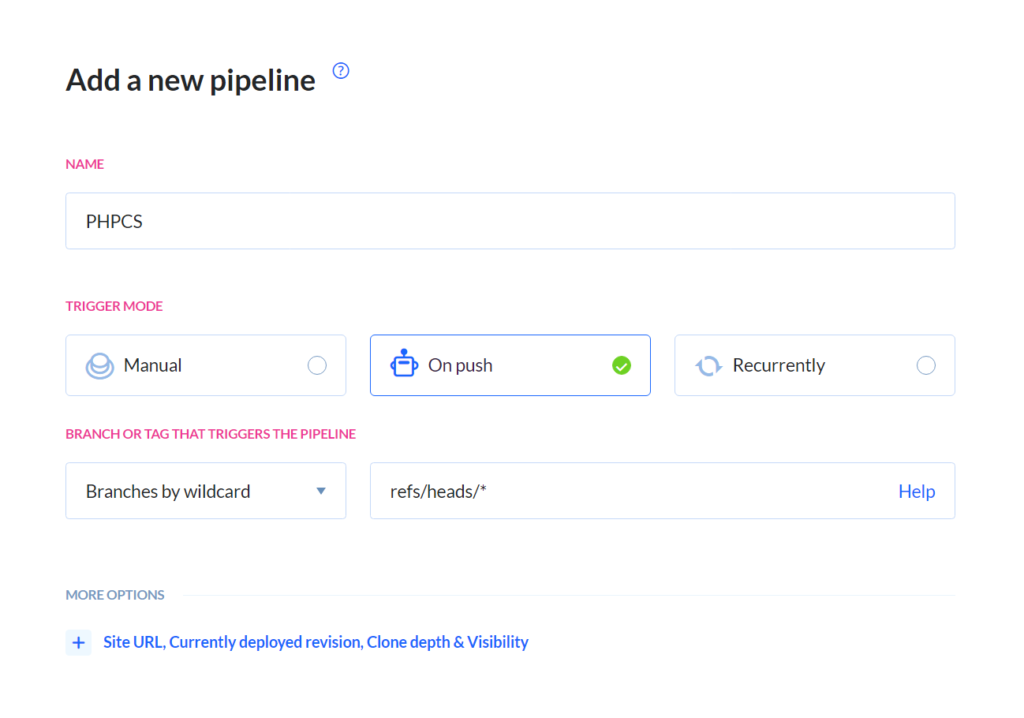
as you can see this action will run every time we will commit something to any branch.
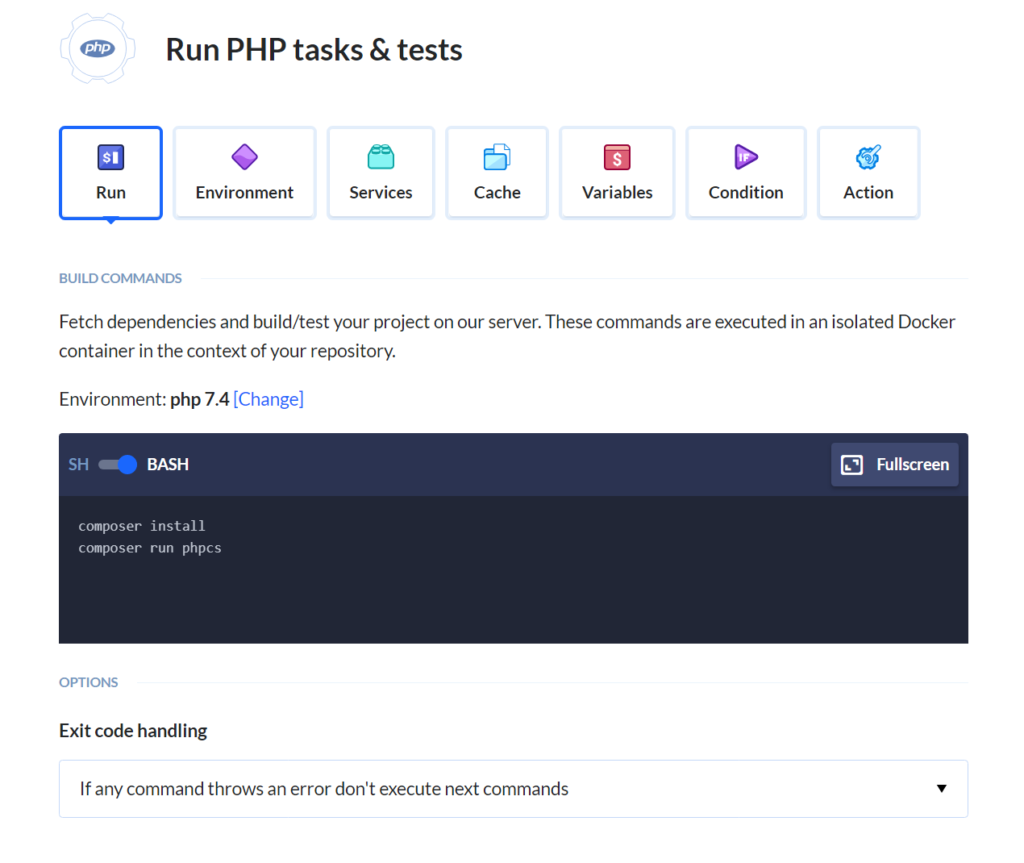
Next, we should add a PHP action:
And that’s it. Now, every time we’ll try to create a new Pull Request on GitHub we’ll get something like this:

The biggest advantage of this method is that each developer’s code is tested on the exact same environment (while on each localhost it may differ). The downside is that we need to connect a 3rd party tool.
Overall – I would recommend using it. Mostly because of the testing environment, but also because of the fact that each developer can turn off any tool on his local machine. With CI/CD (and proper privileges) it’s impossible to do so.
Time to sum up
With those three lines of defense, we should be sure that our code will always be tested.
Our code editor will help us to keep the discipline while writing our code. Git hooks will make sure that we’ll run every test before committing and CI/CD will be our final check.
Of course, we are still humans – even with all having all the tests set up we may push a bug. But thanks to all those tools we can be sure that we will minimize the amount of them.